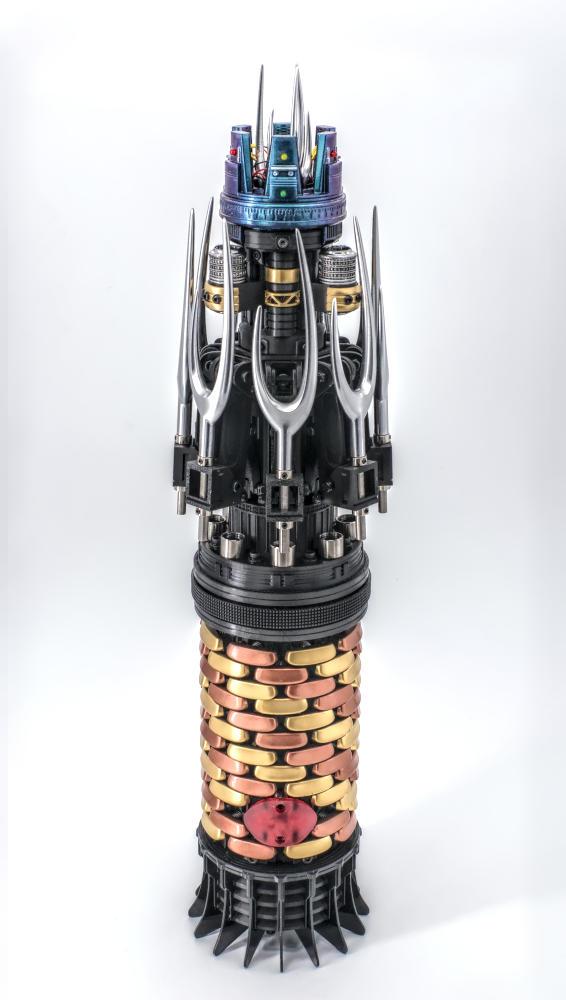
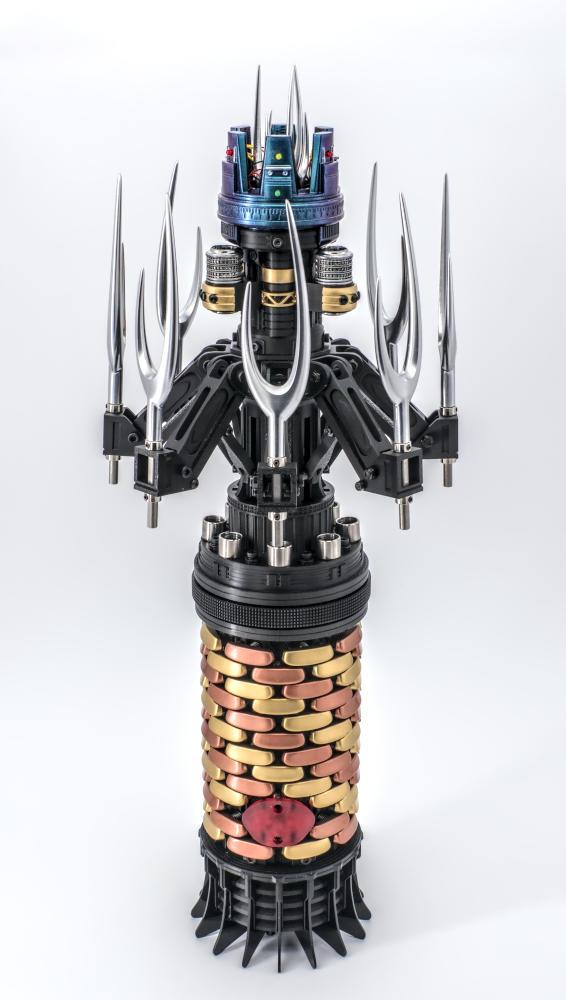
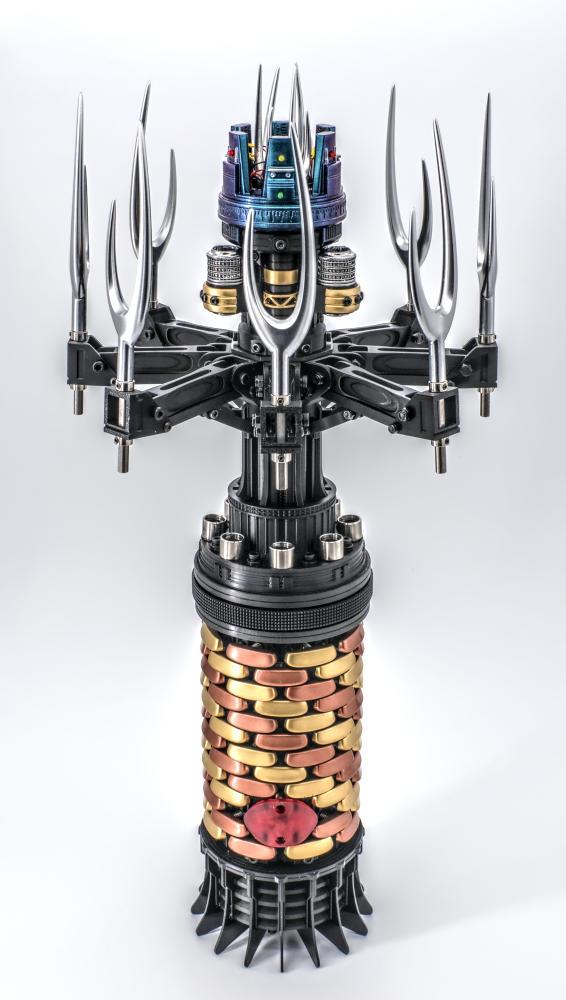
The Cosmic Key v2
I'm pretty happy with how my first Cosmic Key turned out, but there were a few issues I wanted to address in a v2 build.
This build is a work-in-progress, so I'll be updating it as I go.
This is being designed in Blender and printed using a combination of FDM and resin printing.
The Keys
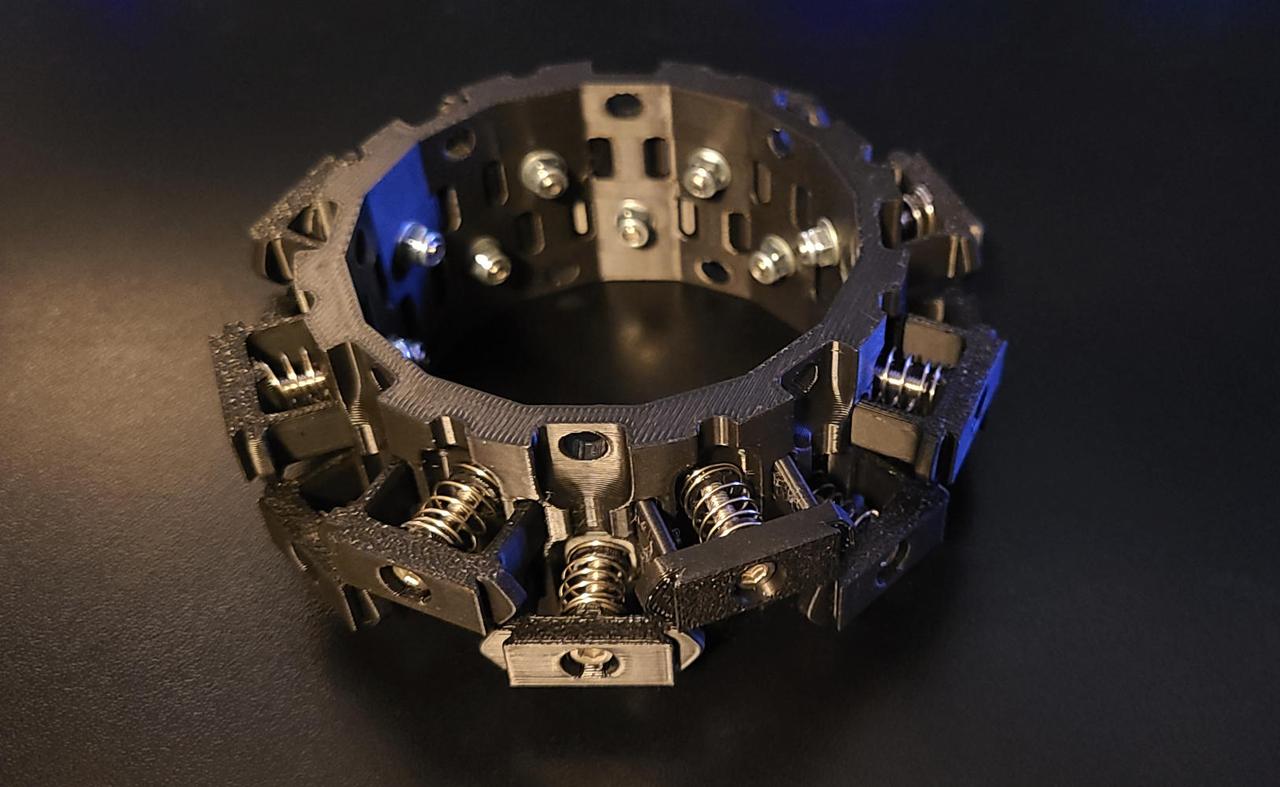
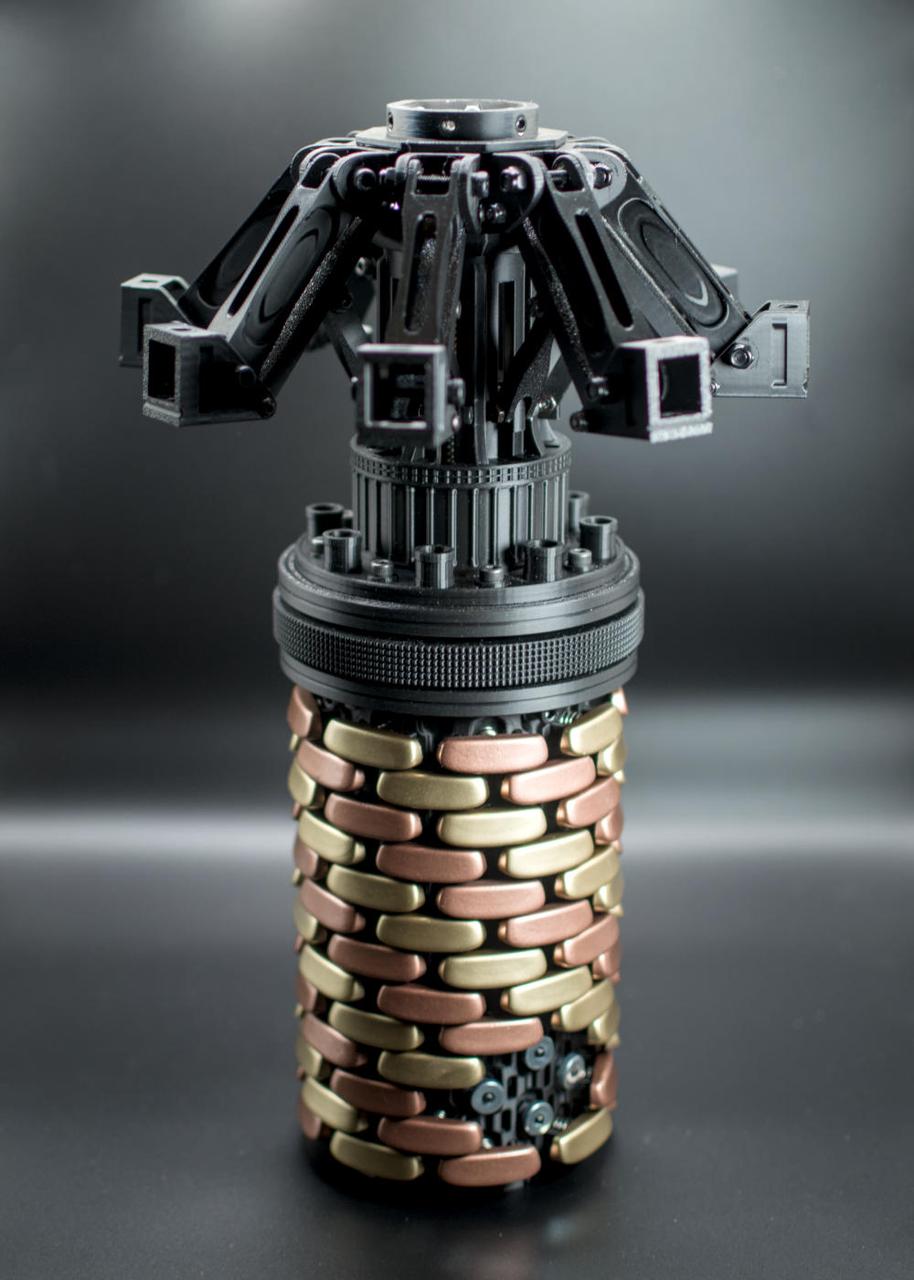
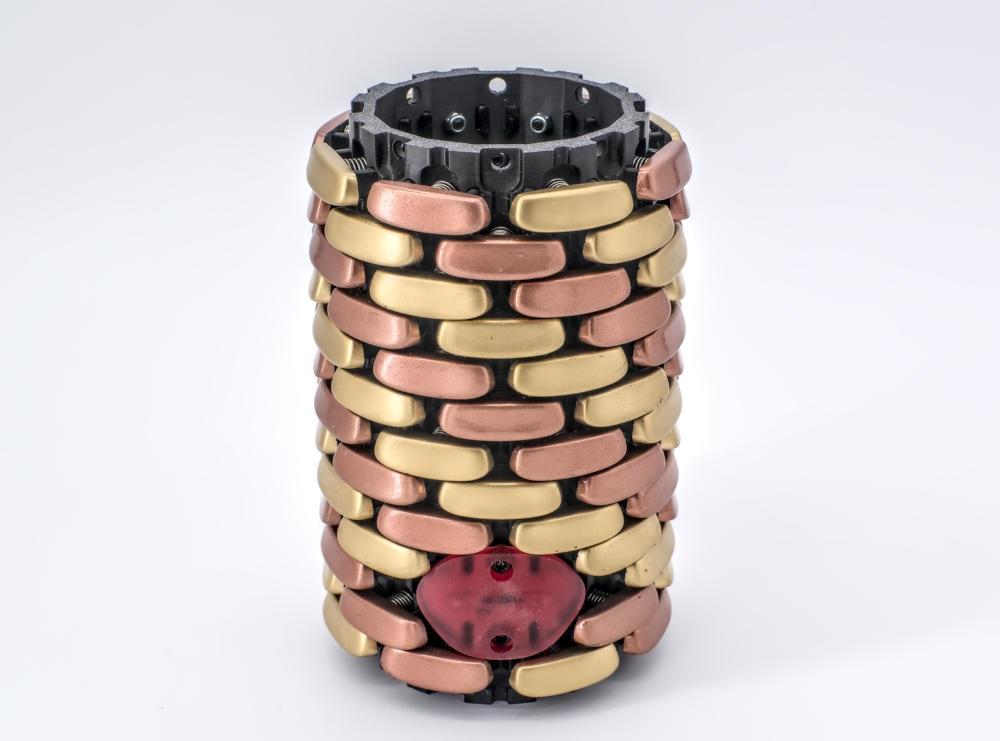
In the first version, the cylinder holding the keys was a bit too wide. I've redesigned it to not only be slimmer, but now it will print in one piece. I've also added a mechanism on either end that will let me attach it to the forks and the base mechanically - no more glue.
The keys are about the same size, just a little shorter. This is more film accurate, and it will ensure that they fit well in the new cylinder.
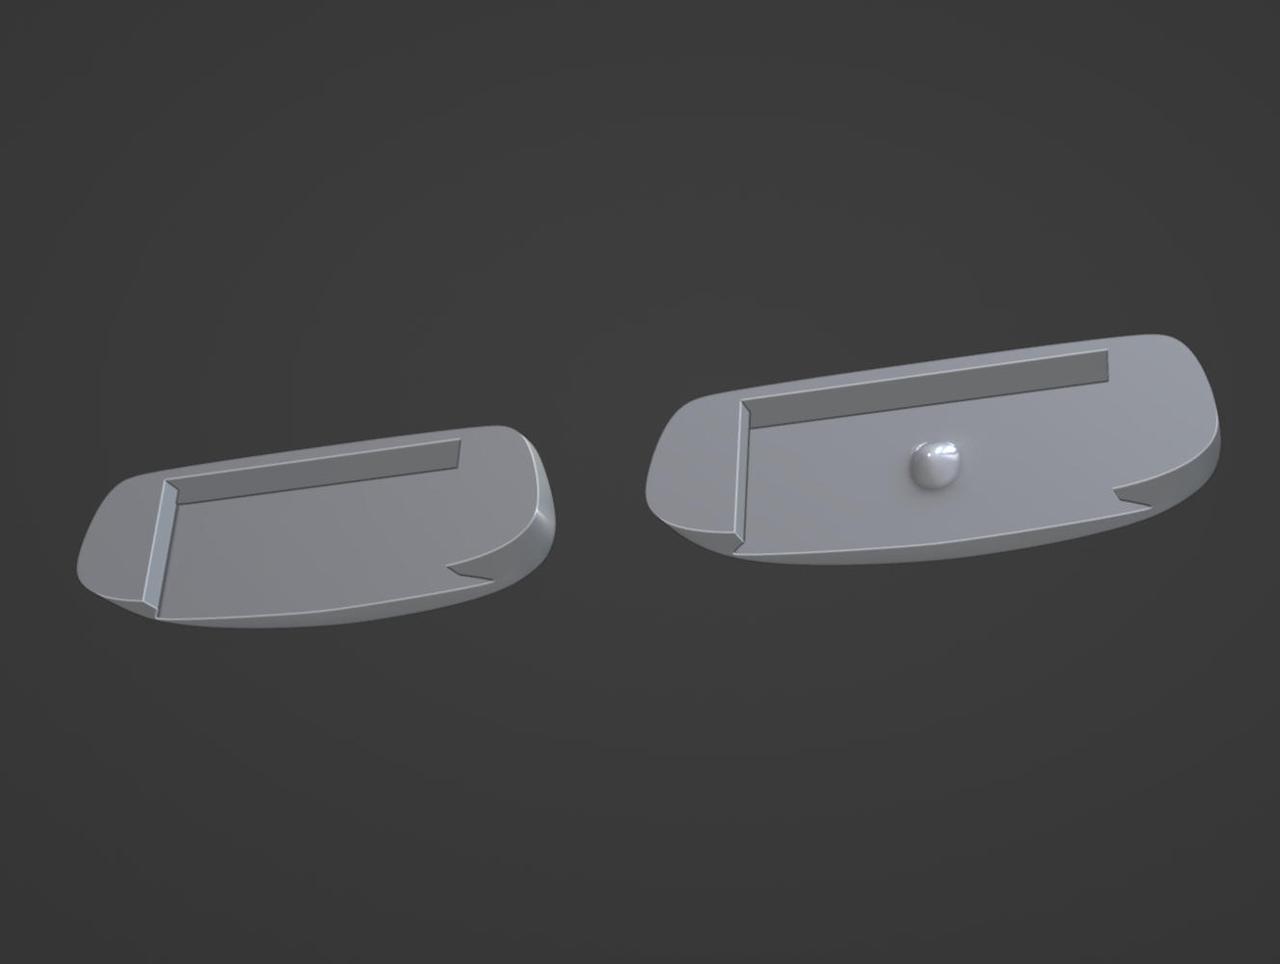
I've added a dovetail to the keys, so that the resin-printed caps can slide on and off. I'll print some test keys within the next few days. There's currently no mechanism to snap them in place. We'll see how well they stay on, but I expect that I'll need something more secure.
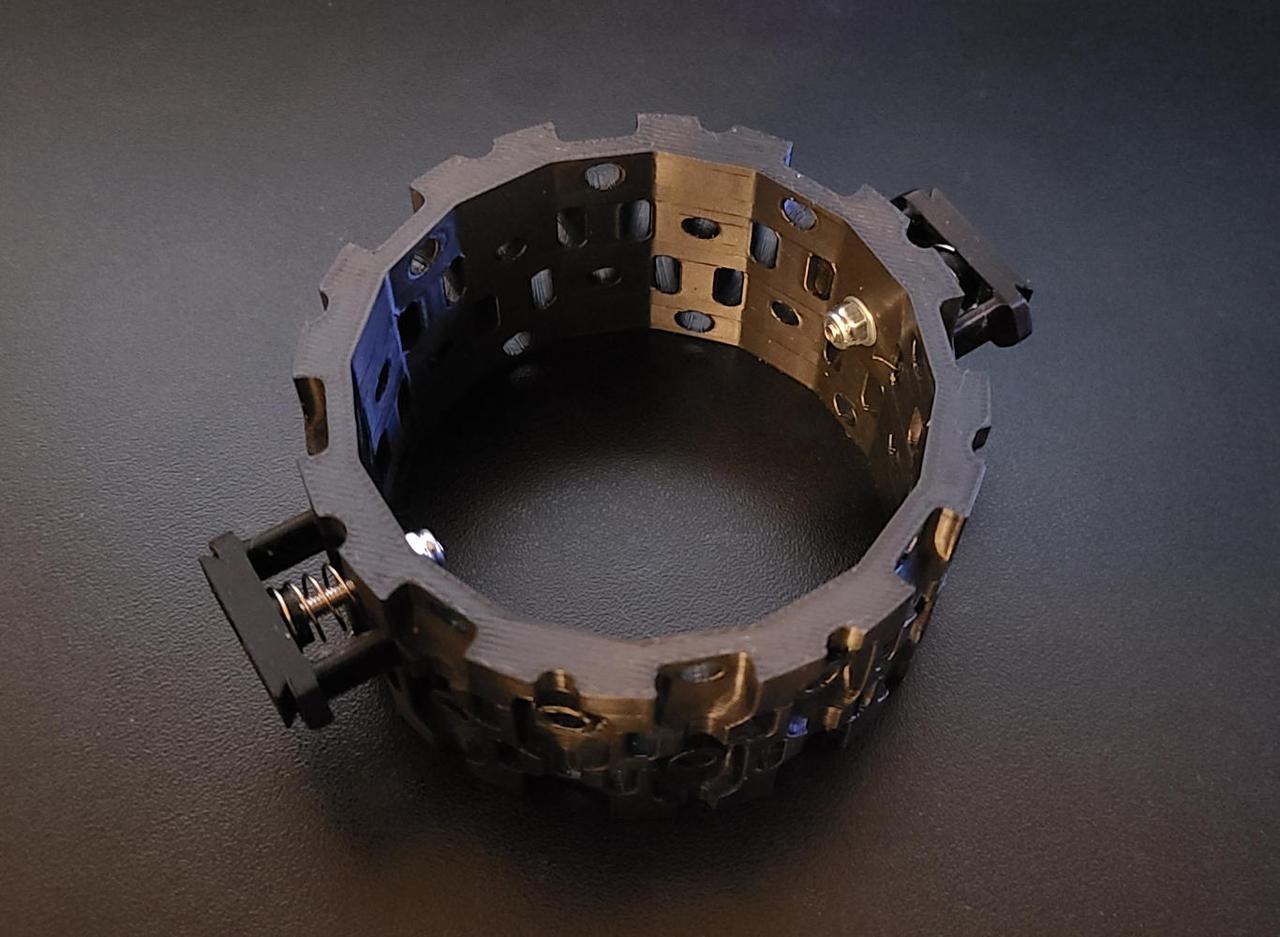
Update 2025-11-10
I have completed resin tests of the new keys. There were two versions tested - one with a bump to snap into the hole for the screw and the other flat.
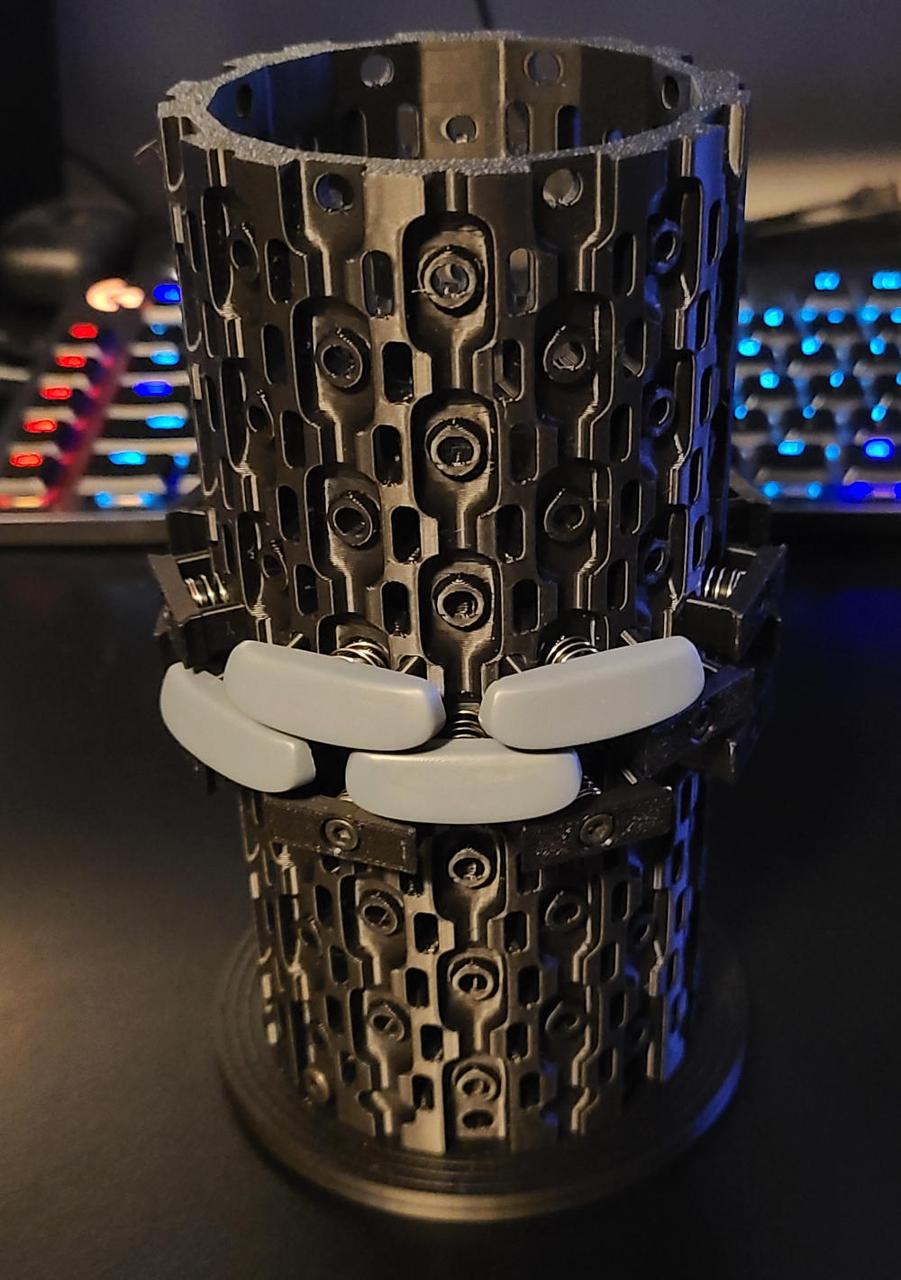
The version with the bump worked, but it was difficult to remove. The version without the bump also held quite well and was easier to remove. The friction fit is tight enough that the keys won't fall off on their own. And even if they eventually loosen up a bit, the keys above them will prevent them from falling off. So I've decided to go with the flat version.
Update 2025-11-13
Here's a timelapse of the key-column printing.
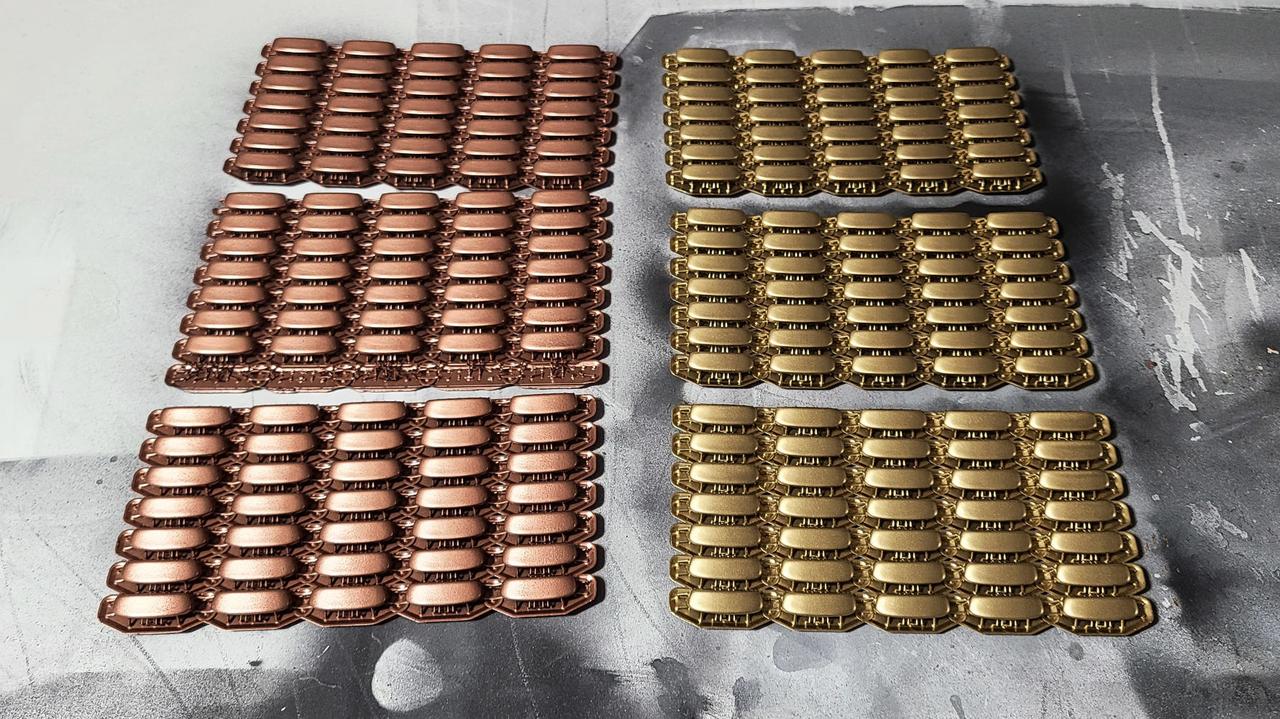
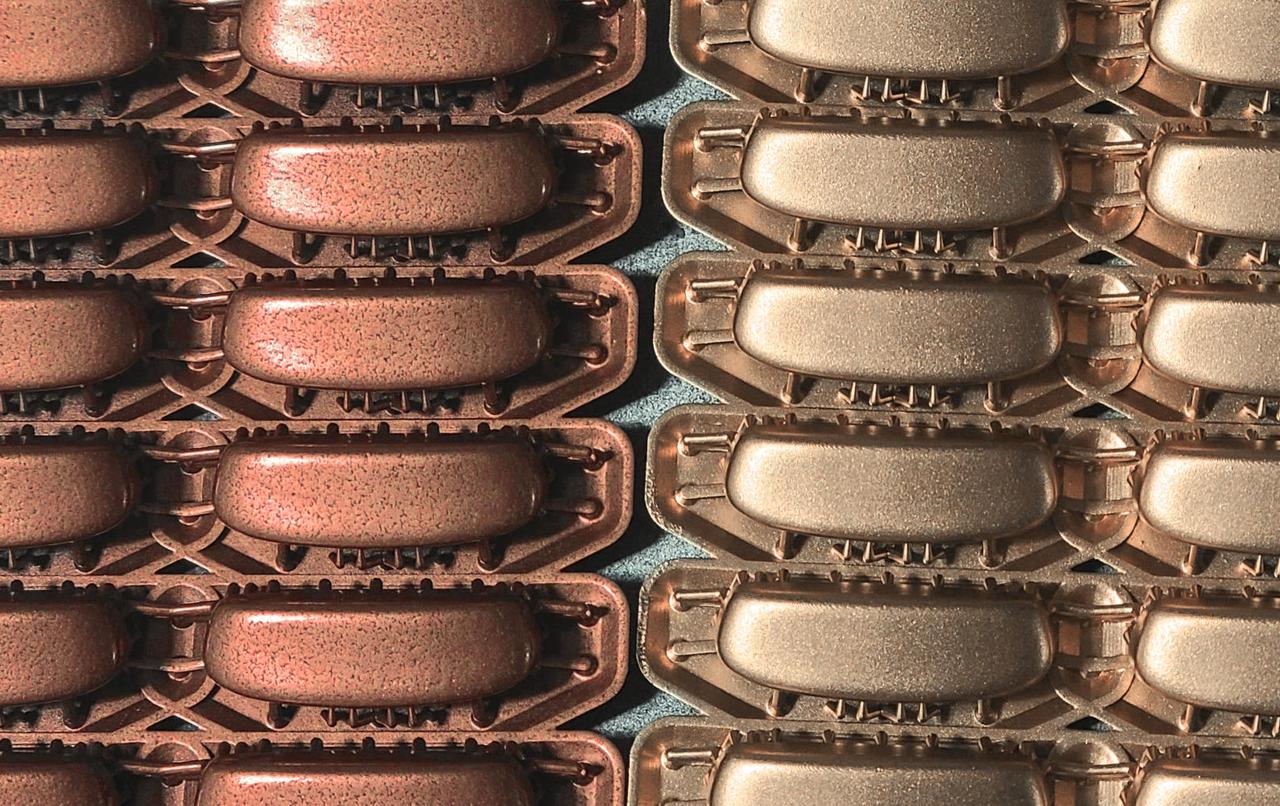
The keys have their first coat of paint. The copper came out a little textured. It almost looks like a raw cast.
Update 2025-11-24
I ended up reprinting the copper keys and giving it multiple very light coats of paint. This kept it as smooth as the gold. I've installed the caps, and they look and feel so much better than v1. Plus, they're removable now.
The Forks
I originally wanted to motorize the forks. The idea was that a small motor would turn a lead screw, which would raise and lower the forks. However, there's just not enough room inside for a large enough motor and the electronics to drive it.
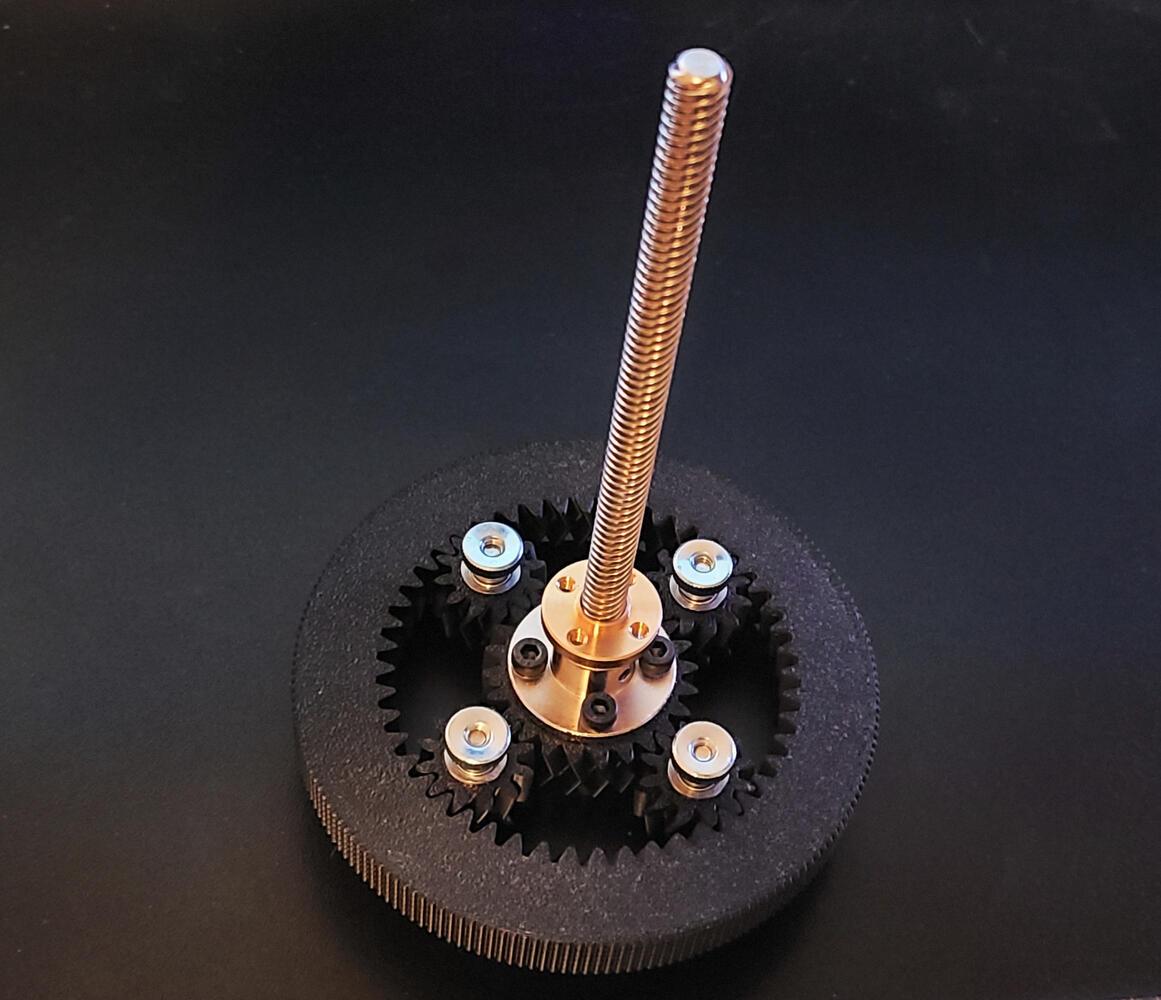
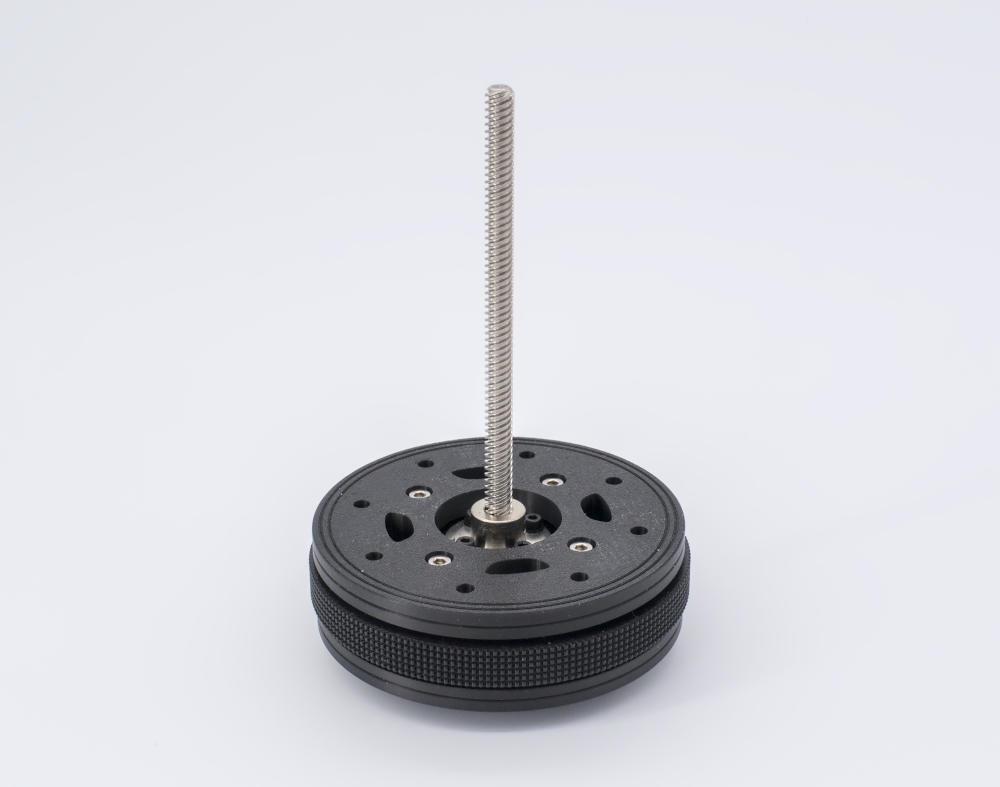
So for this version I've designed a ring that you can manually rotate to control the umbrella mechanism. It's like the ring on an SLR camera lens. I think this will work well enough, but I have a slight concern that I'll need to add some friction to keep it from lowering on its own.
Here's a video simulating how the mechanism will work:
And here's the printed prototype of the gear mechanism:
Update 2025-11-14
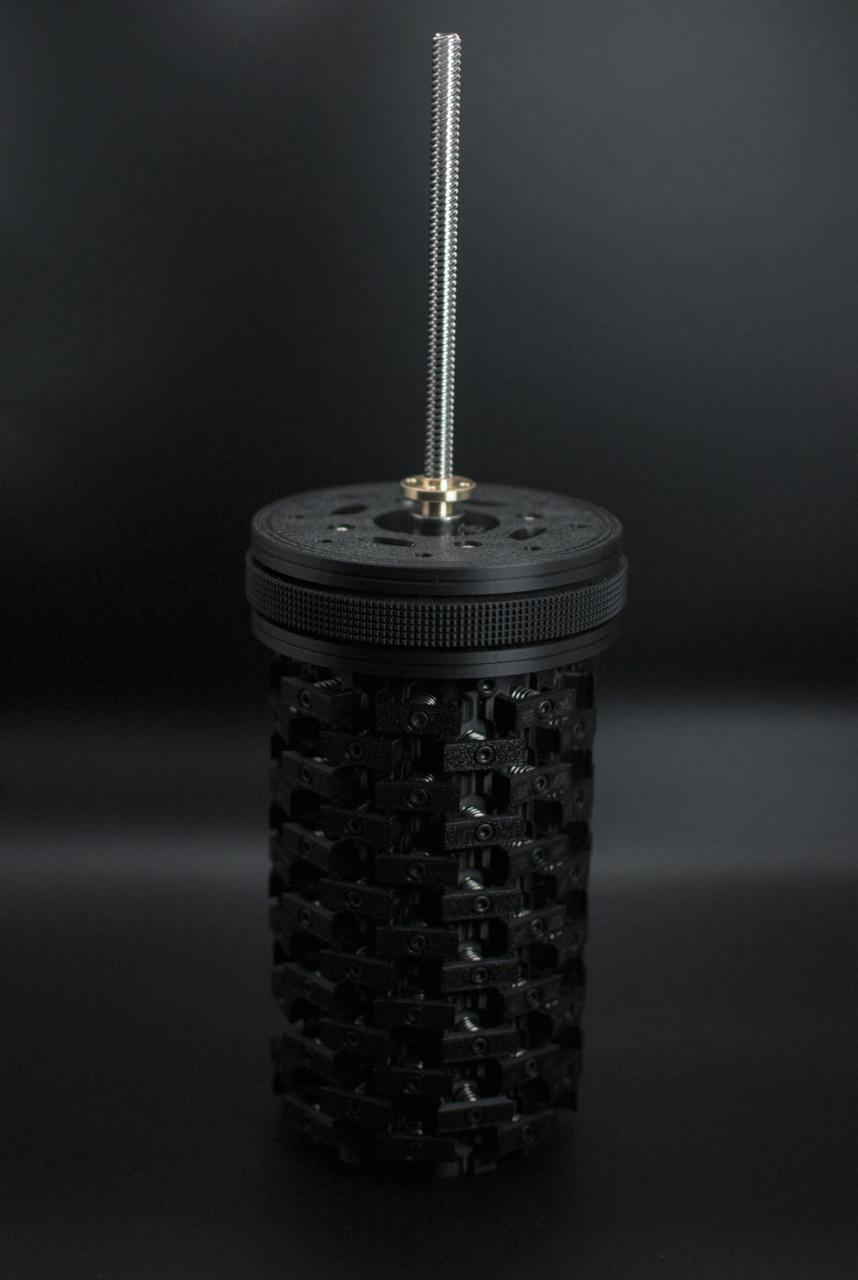
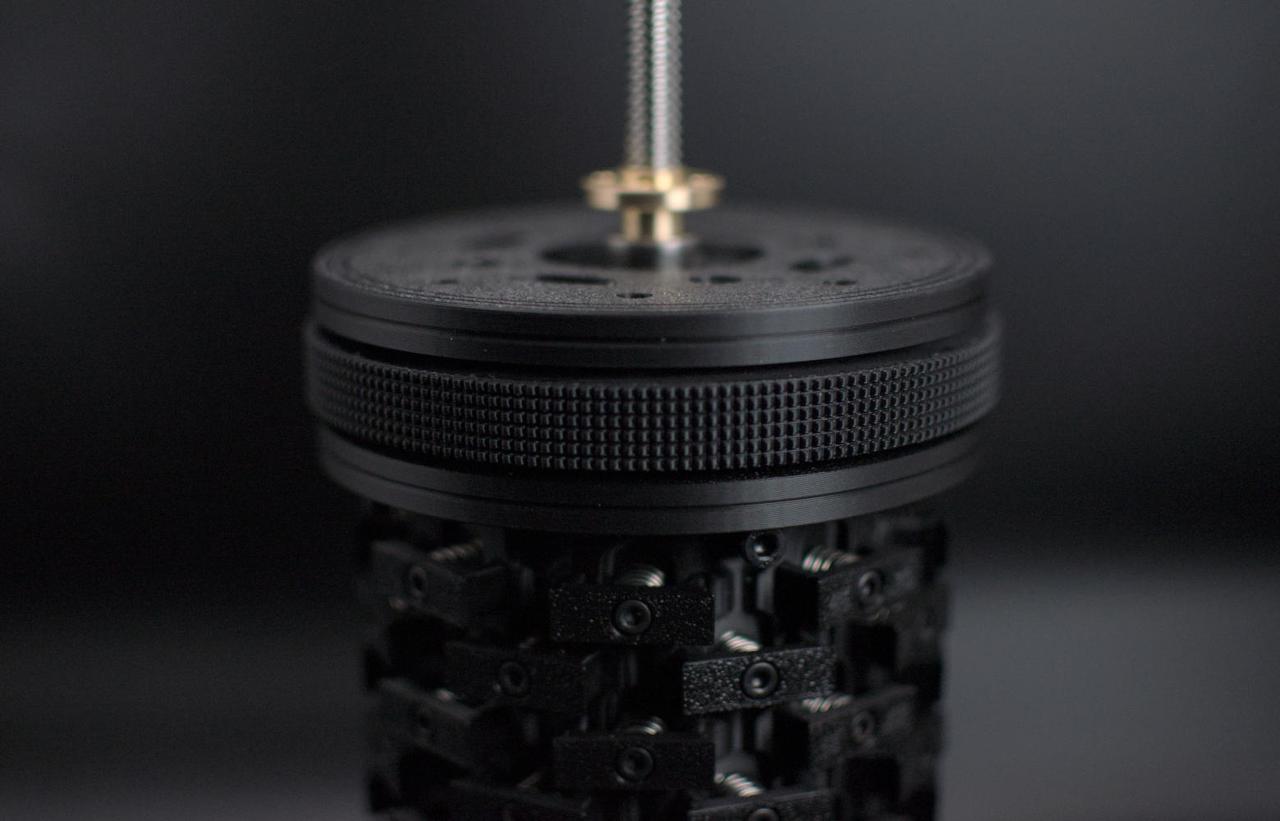
I finished modeling the gear housing this morning and printed it today. Here are some pictures of the completed ring assembly. It moves smoothly for a 3d printed part, and there's no need for a separate locking mechanism. The friction is sufficient to hold the arms in place at any height.
Update 2025-11-15
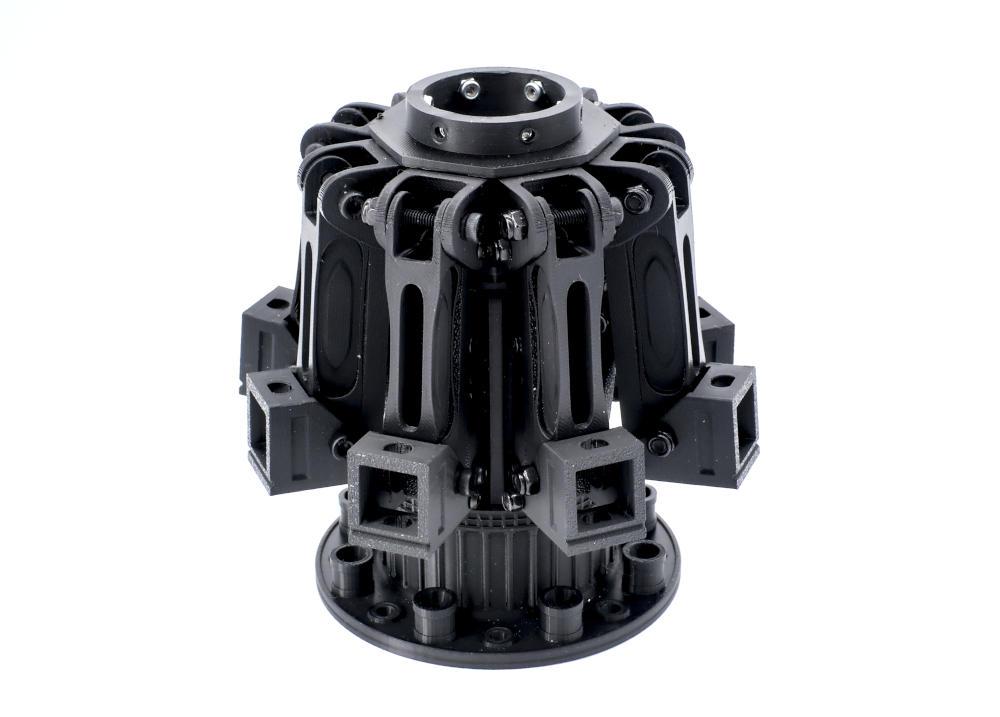
I printed the new fork cylinder and all the arms. It works great! The arms raise and lower smoothly when turning the ring, and they stay put without slipping.

Lights and Sound
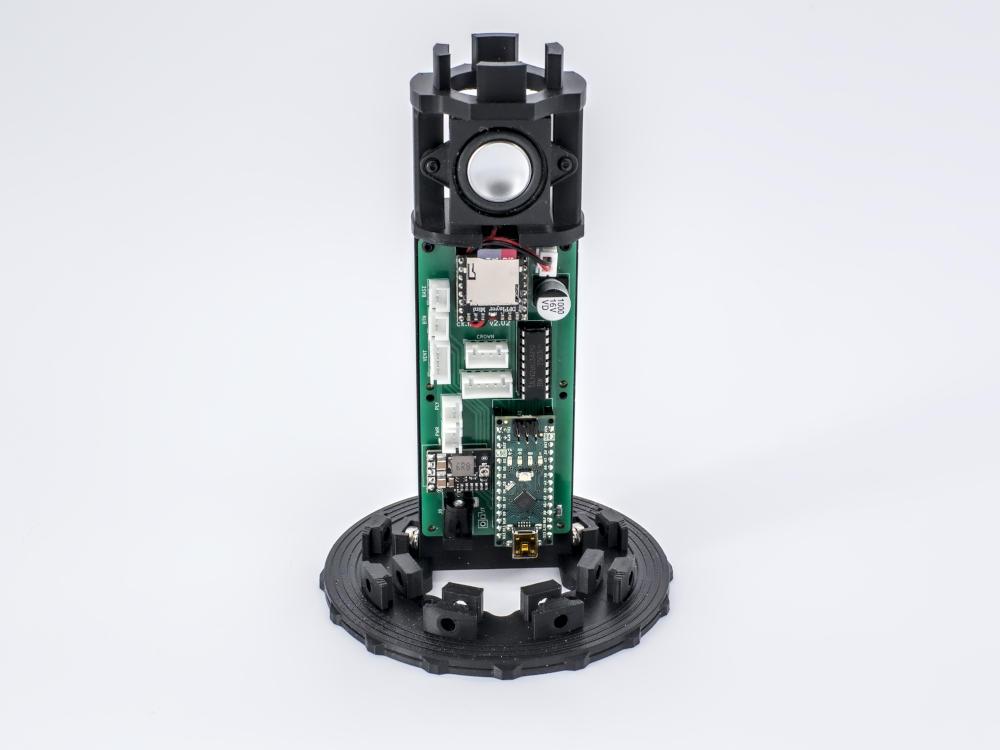
This version will play music and light up when you press the red button. I've already prototyped this using an Arduino Nano and a DFPlayer module. The sound quality is surprisingly good, but we'll see how it sounds with the speaker on the inside.
The main challenge thus far is power. I was running my tests off of the USB power supplied to the Arduino, which is 5v. It was struggling to power both the DFPlayer and the LEDs. My goal is to use battery power. I ordered some voltage regulators to help with this. I'm curious to see how it works out when they arrive in a few days. I'd prefer to avoid external power if at all possible.
I would love to have all the gold keys play notes, but I'll need to save that for a future build. My thought is to set it up as a midi controller, where I can connect it to a computer or synth module to trigger sounds like a keyboard. But that would mean ditching the music and speakers. Even then, I'm not sure if I'd be able to fit all the necessary electronics inside. Still, it's perfectly feasible as long as I can chain together enough port expanders to the Arduino to read all the keys.
Update 2025-11-18
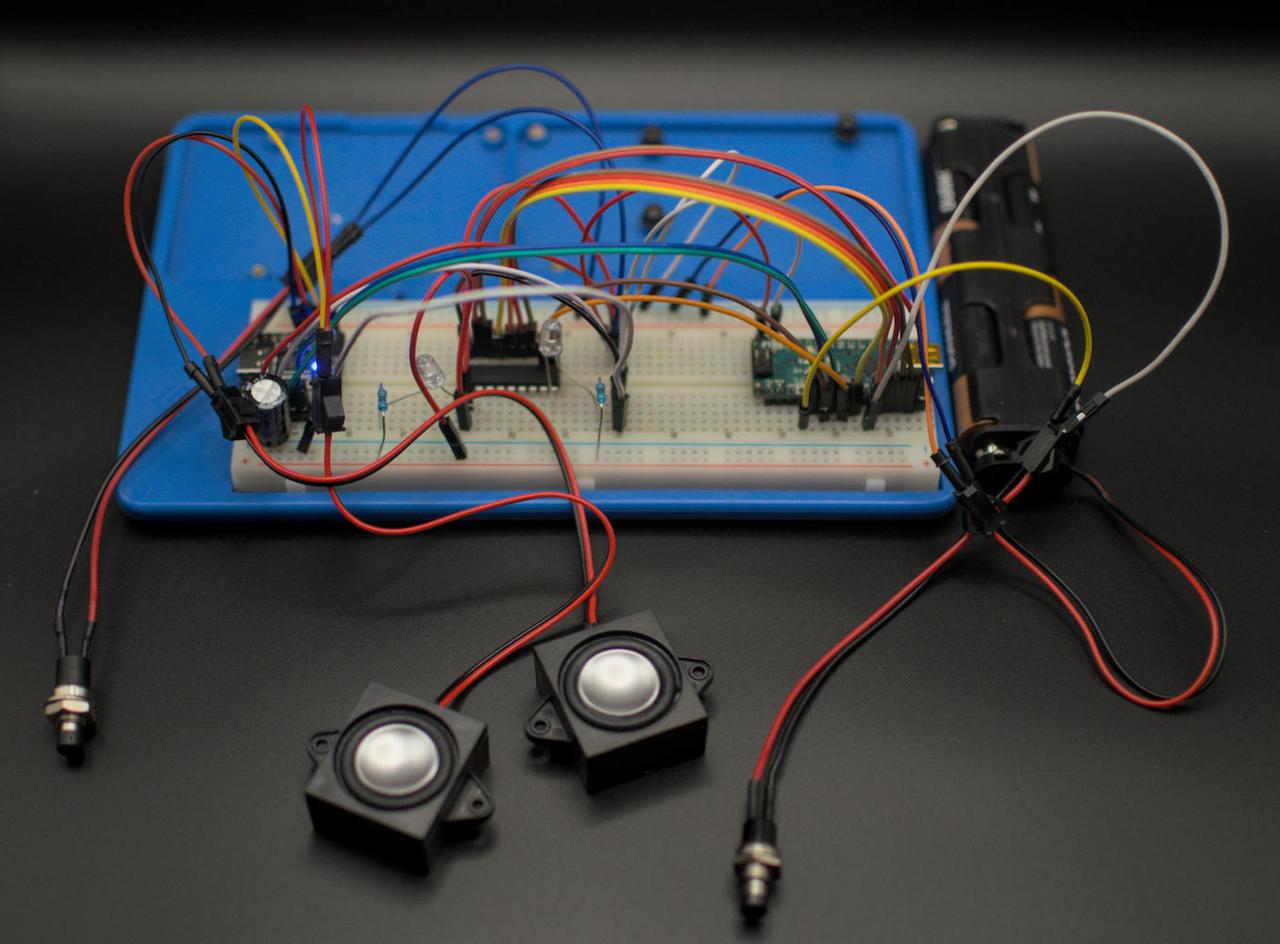
The electronics are working! I have a switch that will turn on power, and a button that will trigger the music and lights. Plus the music is in stereo. Not that you'll really be able to tell.
The voltage regulators arrived, and it turns out they were garbage. The voltage was dropping as soon as there was any load, which was preventing the music from playing. I could technically use the AA power directly, but I worry that voltage fluctuations cause instability. I have better regulators (I hope) on the way.
Once that arrives and I finalize the components, I can finish the design for the electronics housing.
Update 2025-11-24
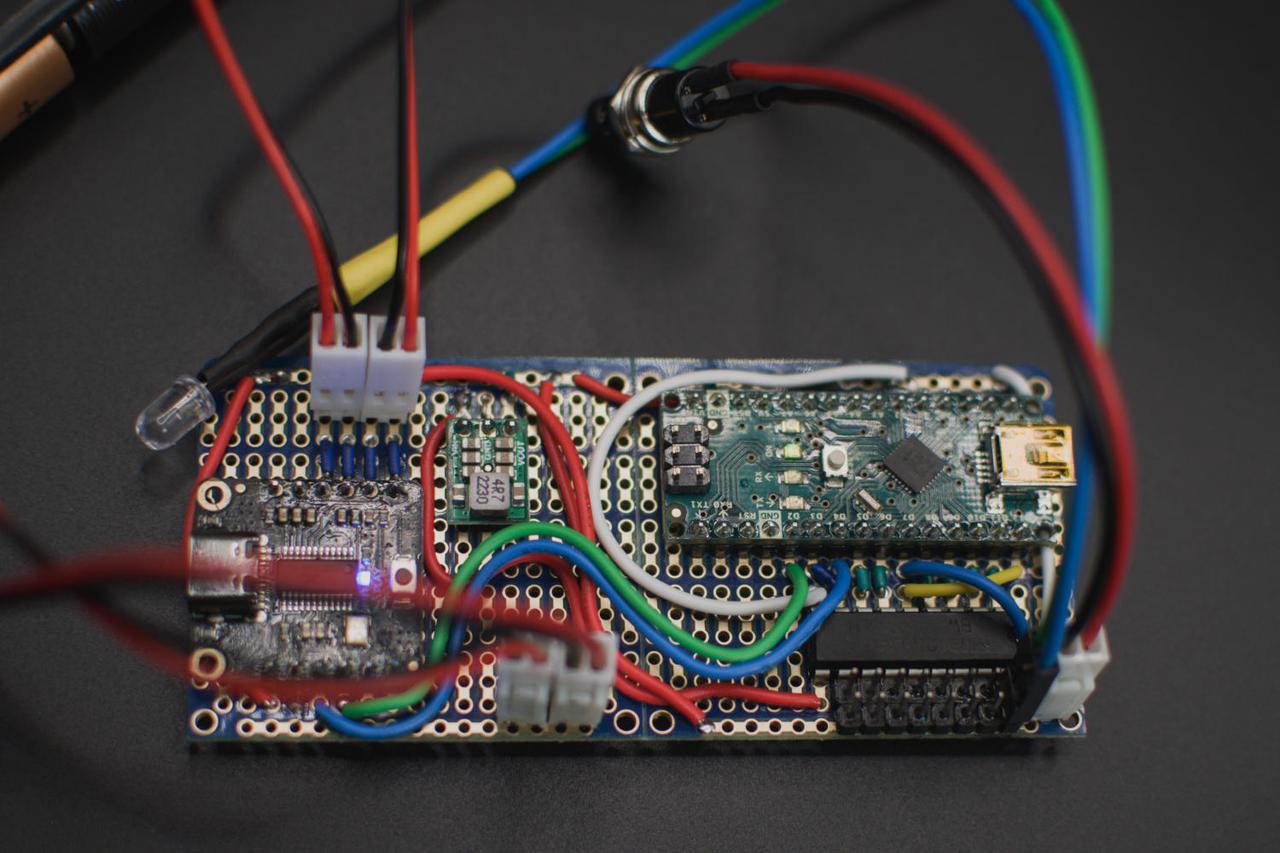
The new regulators arrived and work perfectly! I've soldered the components onto a perf board and added sockets and pins for things like the speakers, button, and LEDs. You may notice that one of the speaker plugs has the polarity backwards. These are the two white plugs in the top left of the photo. Whoops. It doesn't seem to make a difference in this case, though at some point I'll fix it.
The battery pack that I was planning to use won't fit in the available space. Or more accurately, it will fit, but you won't be able to push any of the gold/copper buttons. To address this, I have a different style battery pack on order that I should be able to fit into the base.
Update 2025-12-07
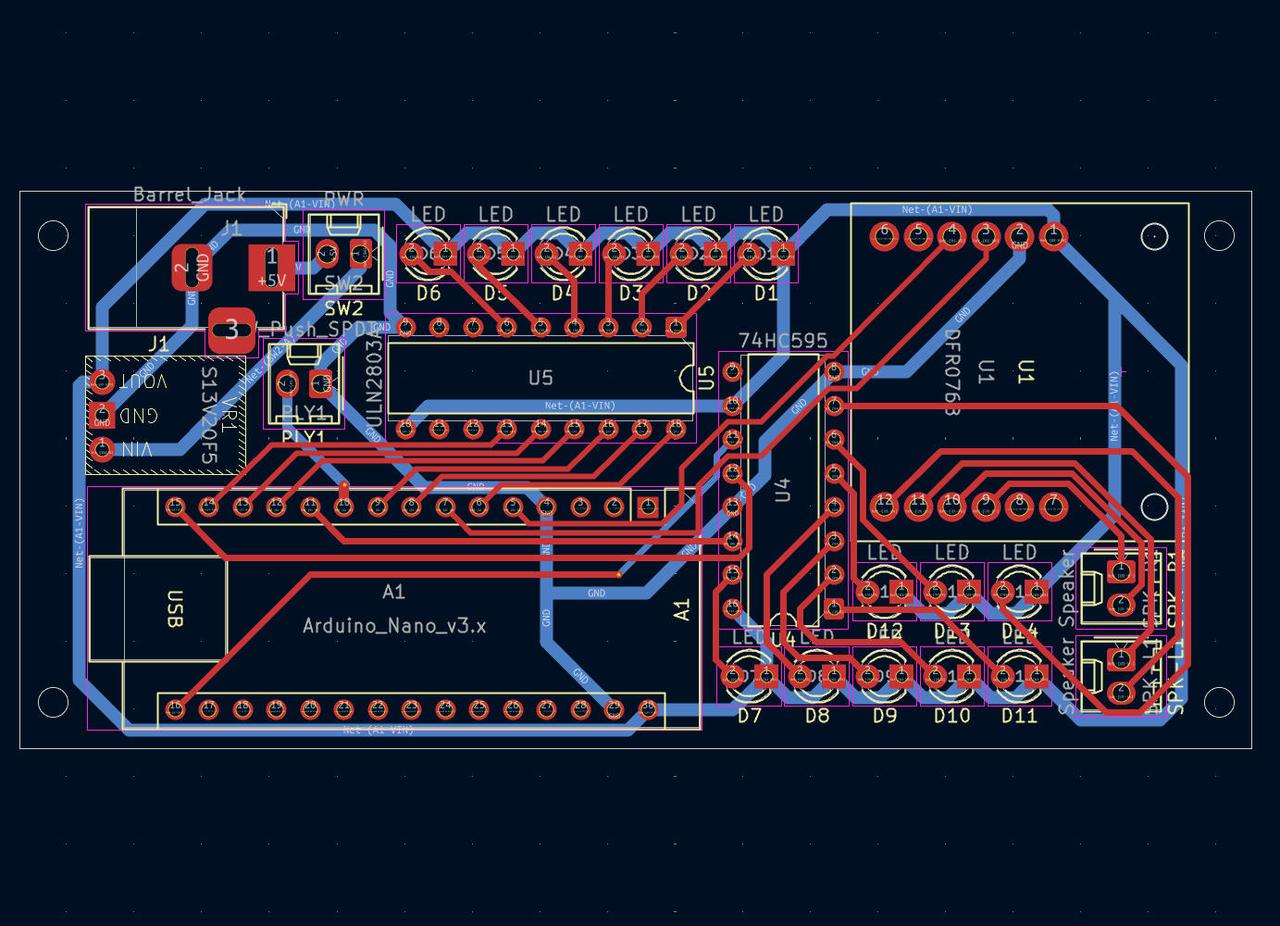
I'm pretty dissatisfied with the electronics. Everything works so far - I have sounds and light and full control over patterns and such, but there's a second board that I had to fit in so it's gotten very tight. Plus I find all of these wires to be quite ugly, and I worry about the buttons catching on them.
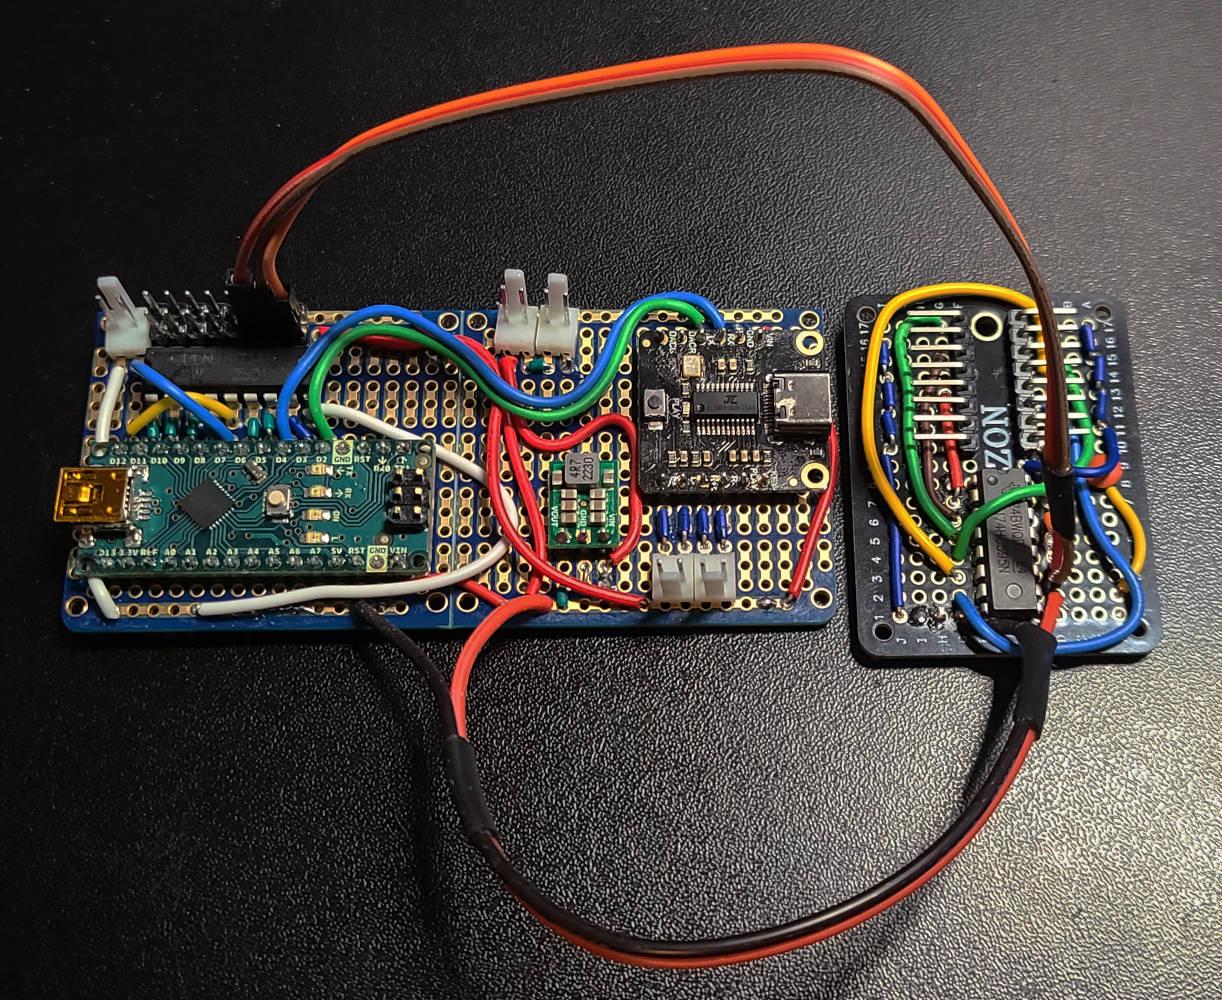
So I'm currently in the process of designing a proper circuit board that I will send off to get manufactured. I've just started learning KiCad, but I'm already getting the hang of it. Here's a screenshot of my first attempt.
Update 2026-01-10
The first board I made had a short, so I fixed that and had it remade. It arrived a few days ago, and I soldered everything together yesterday.
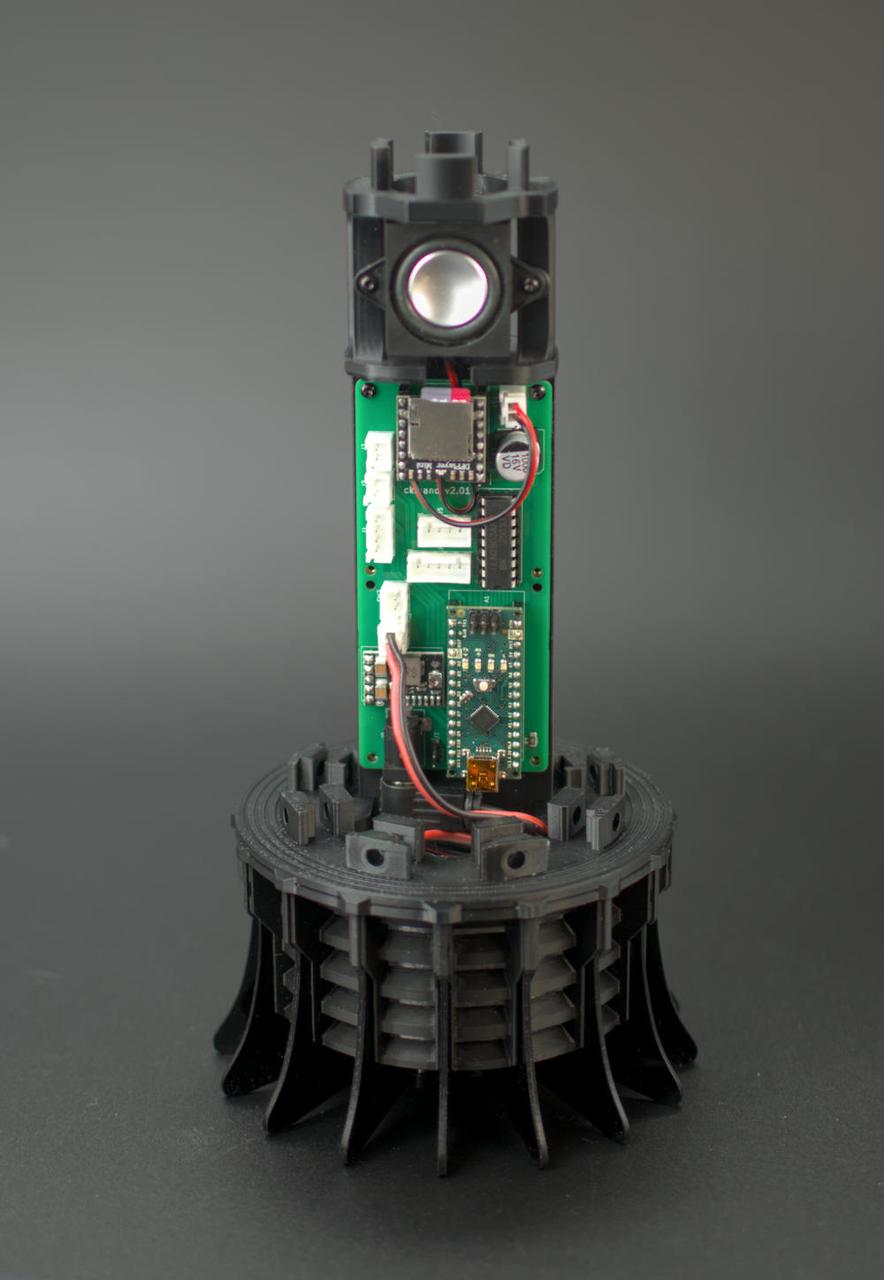
And here's a picture of the final assembly:
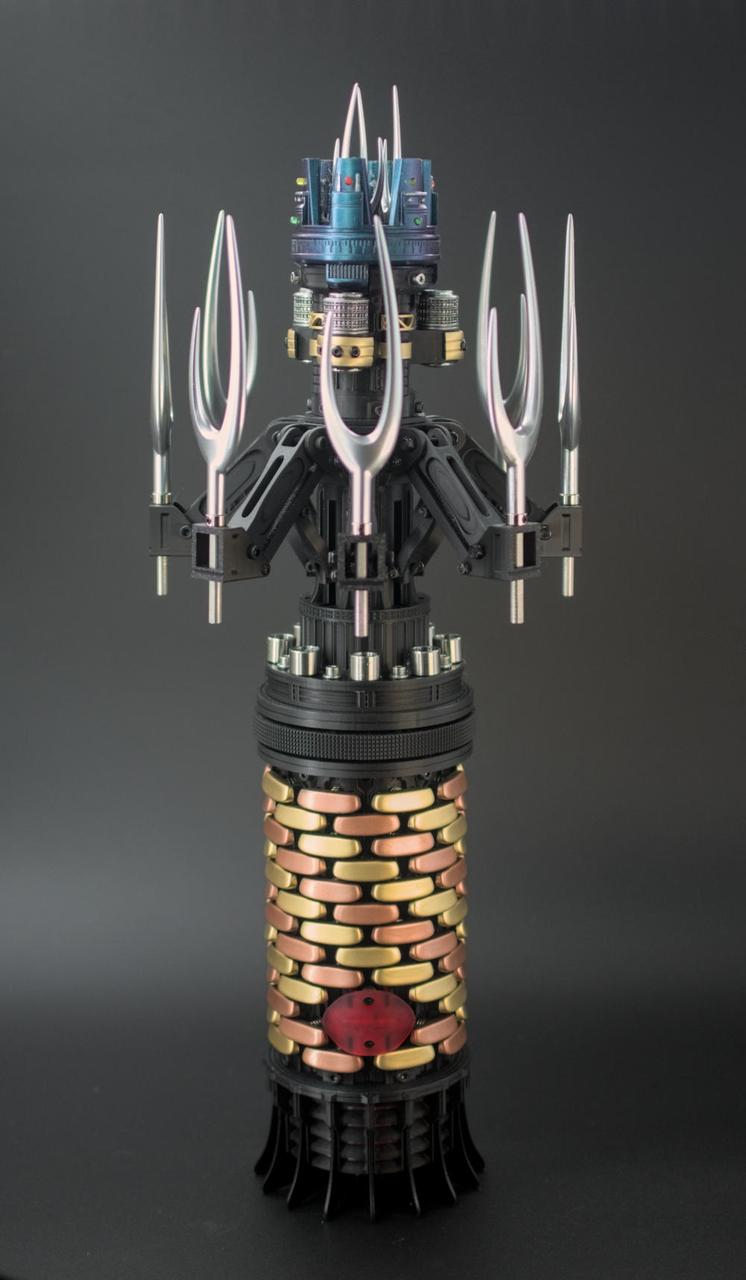
And a video of the lights and sound in action:
Update 2026-01-18
I made two of these in parallel. The first, along with the previous model, is currently for sale at Collectiques.
I took new pictures of the second one. I tried a white backdrop this time.
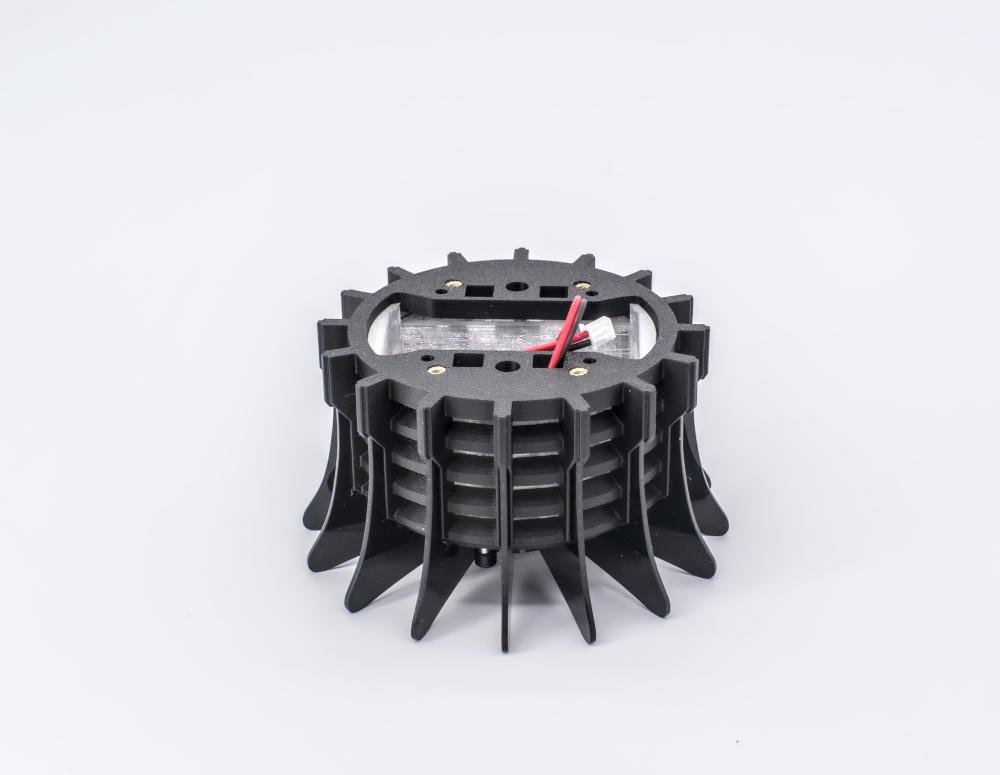

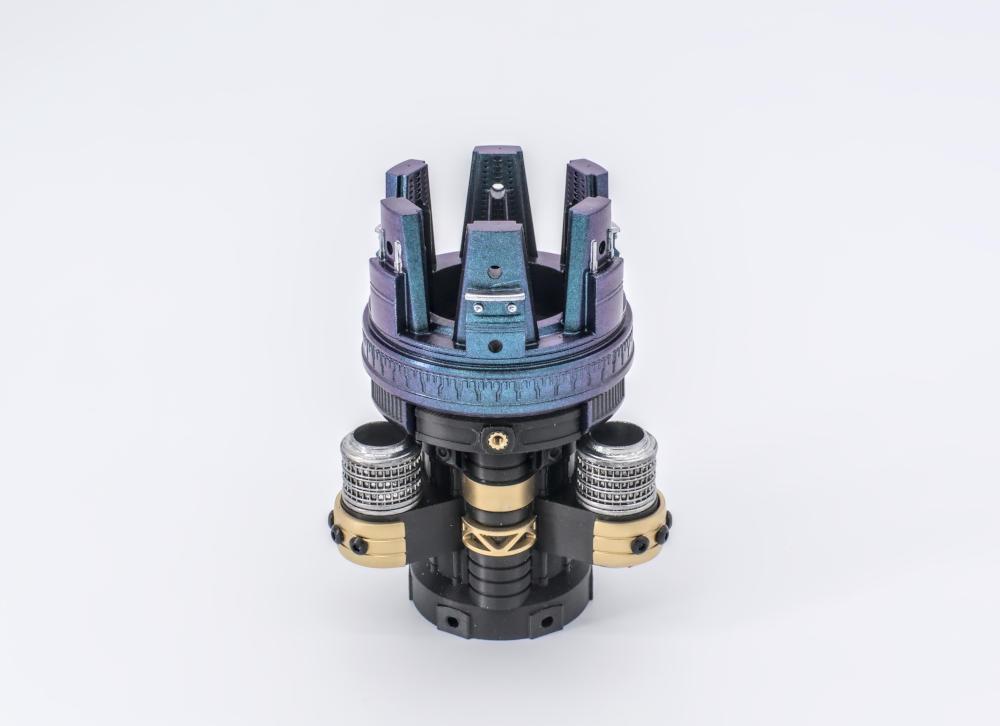
And everything assembled: